Call Us: + 0712 819 79 555

Call Us: + 0712 819 79 555
May 12, 2022
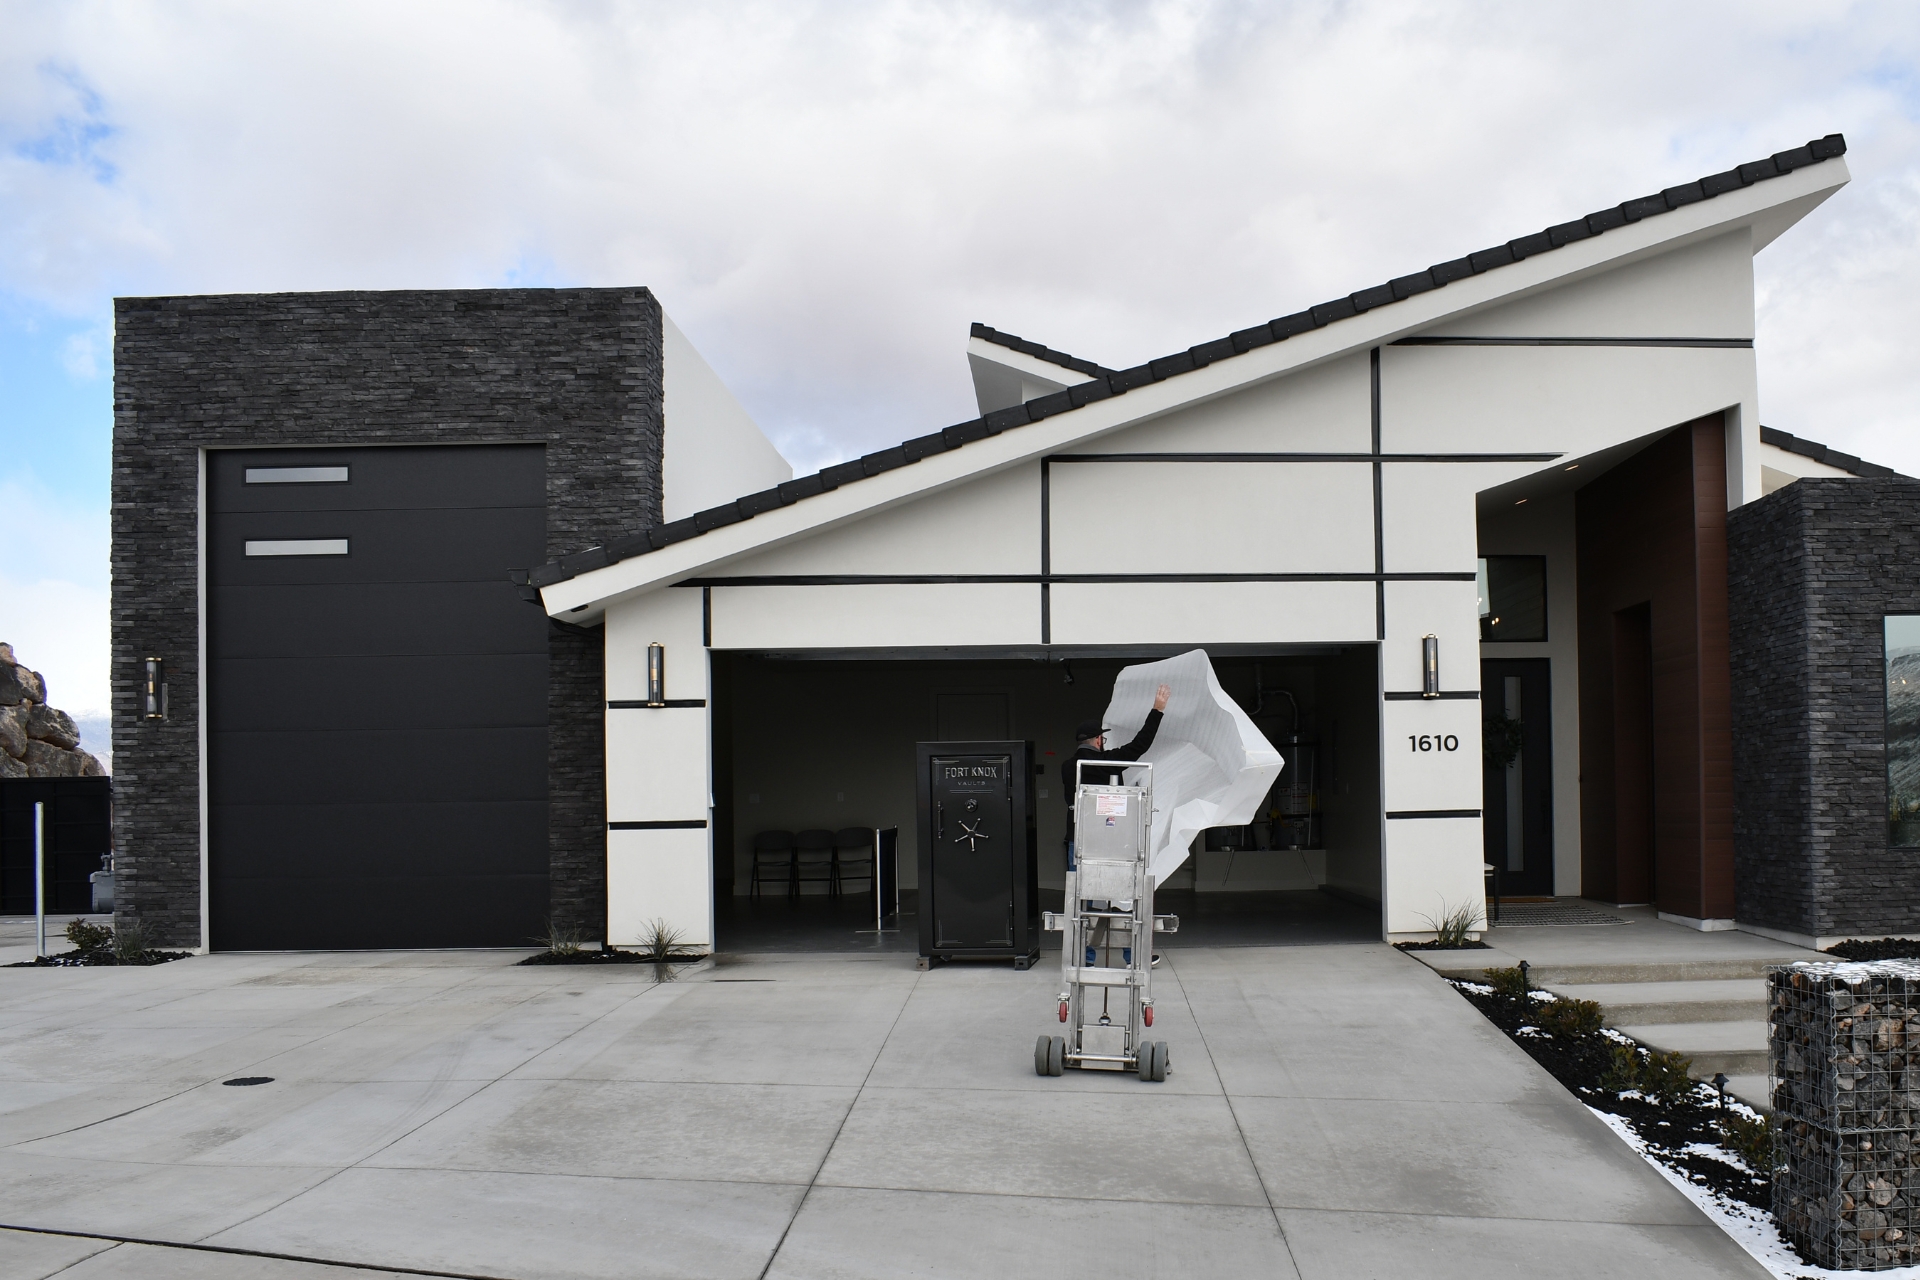
Moving a gun safe may seem like a daunting task, but with the right approach, it can be a straightforward process. As professionals in the gun safe moving industry, Our team has seen a fair share of challenges and triumphs. Whether you’re relocating or simply rearranging your space, this guide will provide you with the essential steps to ensure a safe and efficient move.
Before diving into the moving process, it’s crucial to thoroughly assess your gun safe. This initial evaluation will help you anticipate challenges and plan effectively, ensuring a smoother moving experience. Here are some key factors to consider:
Understanding the weight and dimensions of your gun safe is essential for several reasons:
Weight: Gun safes can range from a few hundred to several thousand pounds. Knowing the exact weight helps you determine the number of people you’ll need for the move. Heavier safes may require specialized moving equipment, such as a heavy-duty dolly or moving straps, to ensure safety and prevent injury.
Size: Measure the height, width, and depth of your safe. This information will not only inform your team of how to lift and maneuver the safe but will also help you assess whether it can fit through doorways, hallways, and staircases in your home or office. Don’t forget to measure the new location to ensure the safe will fit comfortably in its new spot.
Evaluating both the current and future locations of your gun safe is equally important:
Current Location: Take note of the safe’s current position, including any obstacles that may be in the way. Consider the floor type (carpet, hardwood, concrete) and the weight distribution, as some surfaces may require extra care when moving a heavy object.
New Location: Identify where you want to move the safe. Measure doorways, hallways, and staircases leading to the new spot. Pay close attention to tight corners or low ceilings that could impede the movement. If the new location involves stairs, assess whether they are straight, winding, or steep, as this will affect your strategy for transporting the safe.
As you assess both locations, take a moment to identify potential challenges:
Obstacles: Look for furniture, decorative items, or other obstacles that could hinder the movement. Clearing a path will make the process much easier and safer.
Angles and Turns: Consider any angles or turns that need to be navigated. A large safe may require creative maneuvering to fit through narrow spaces, so it’s wise to have a plan in place.
Environmental Factors: Think about the weather and any potential changes in conditions. If you’re moving the safe outside, be prepared for rain or slippery surfaces that could complicate the move.
By thoroughly assessing your gun safe’s weight, size, and both current and future locations, you’ll set yourself up for success. This careful planning will help you choose the right tools, gather a capable team, and ultimately ensure a safe and efficient moving experience.
Preparing for the move of your gun safe involves assembling the right tools and equipment. Having everything ready not only makes the process smoother but also enhances safety for you and your helpers. Here’s a detailed breakdown of essential supplies you'll need:
Purpose: Moving straps are invaluable for distributing the weight of the safe evenly across your team. They help prevent strain on your back and arms while providing better control during lifting and moving.
Types: Look for heavy-duty straps specifically designed for moving heavy objects. Some come with ergonomic designs that allow for better grip and leverage. A popular choice is the shoulder strap type, which lets you carry the safe close to your body, reducing the risk of injury.
Usage Tips: When using moving straps, ensure everyone is familiar with how to position them. Coordinate your movements with your team to maintain balance and prevent the safe from tipping.
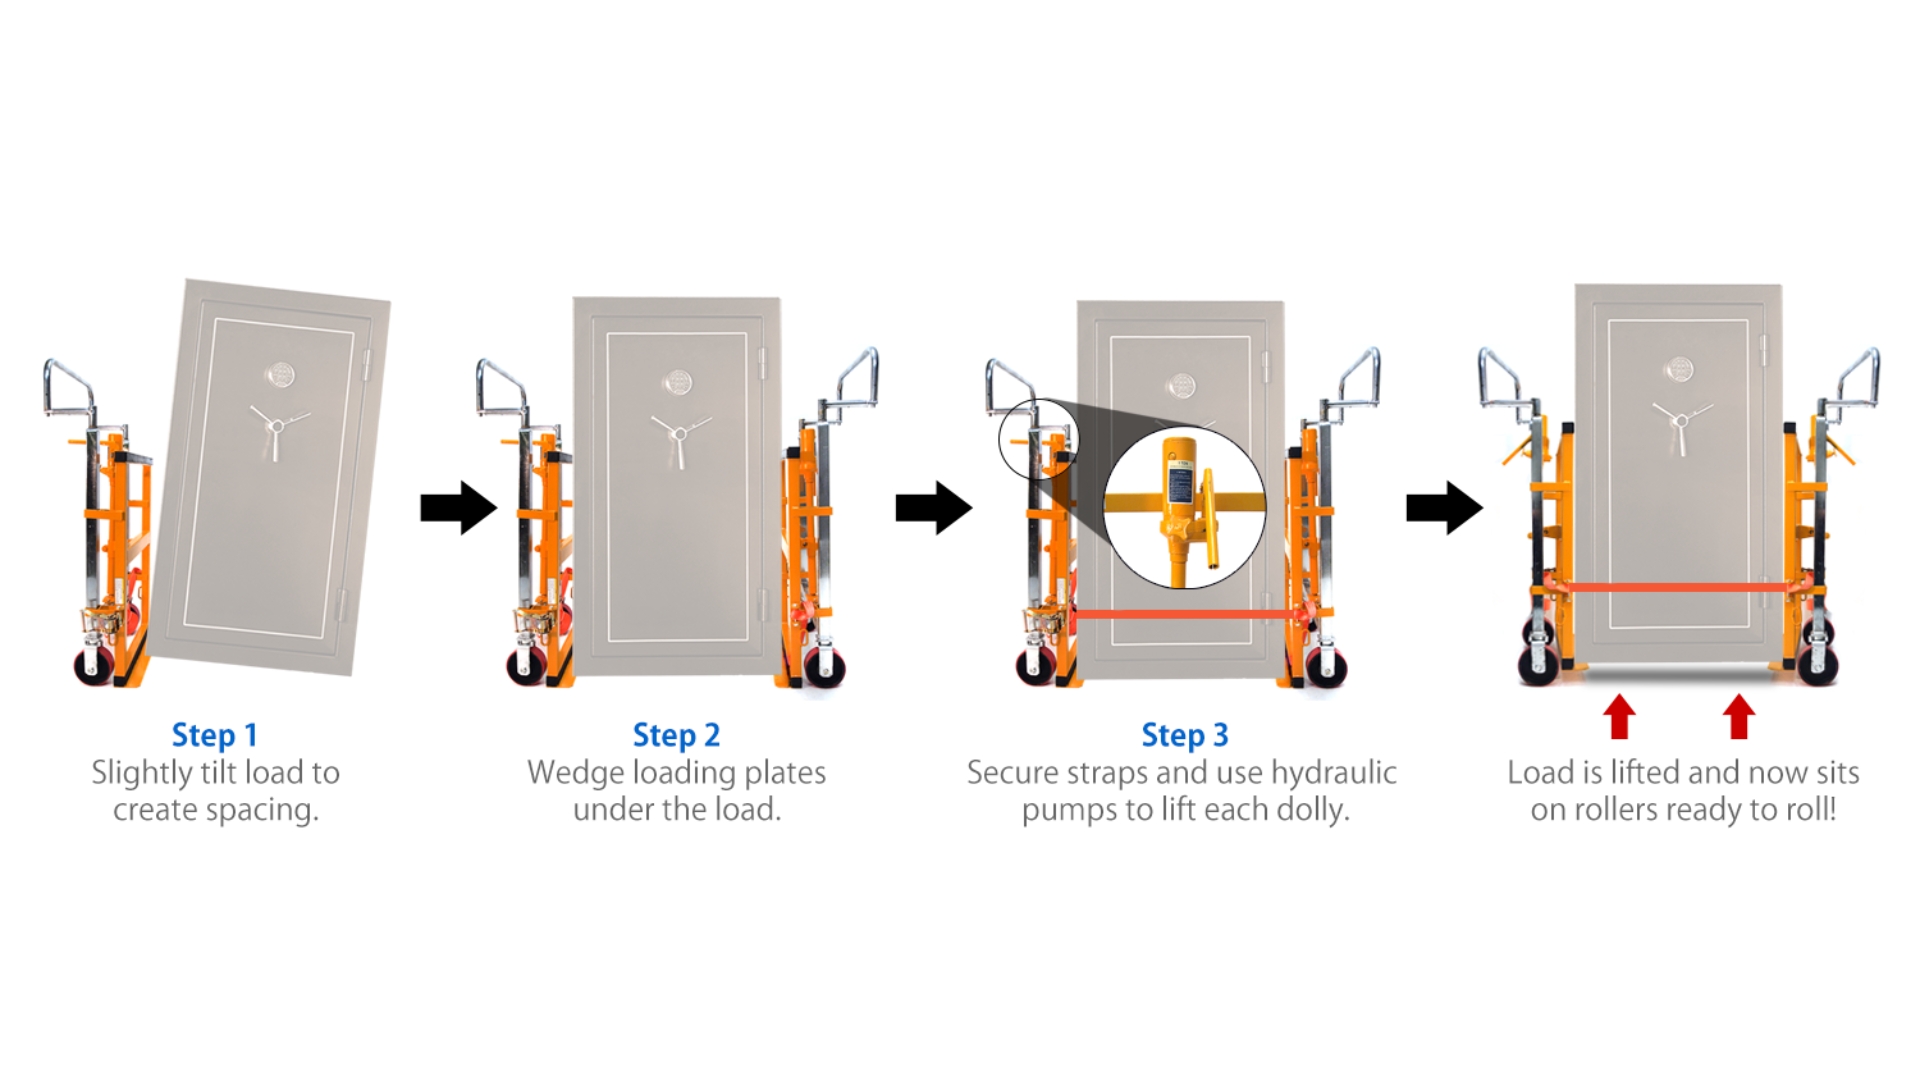
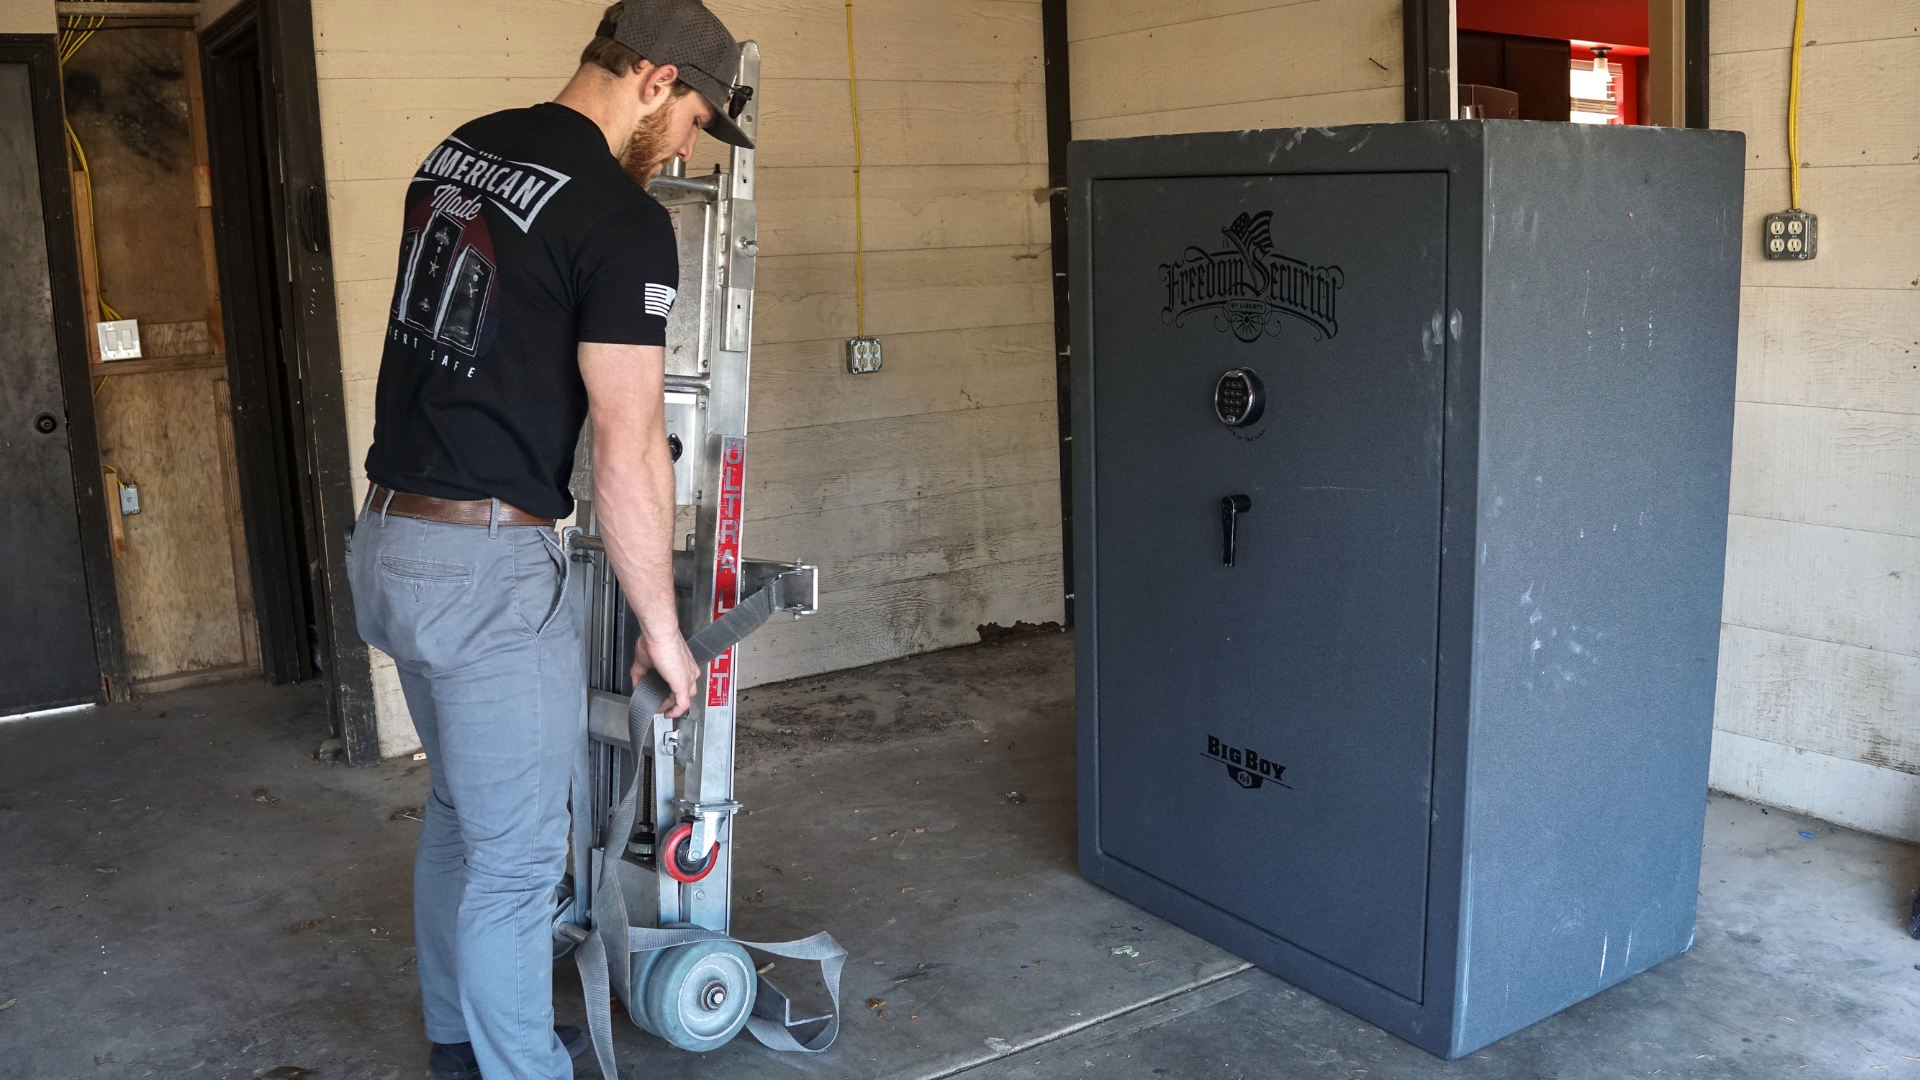
Importance: A sturdy dolly or hand truck is crucial when moving a gun safe. This tool helps reduce the physical effort required, allowing you to transport the safe over flat surfaces and navigate short distances more easily.
Choosing The Right Dolly: Opt for a heavy-duty model with large wheels that can handle the weight of your safe. A two-wheeled dolly is generally sufficient for most safes, but if you're dealing with particularly heavy or awkward shapes, a four-wheeled moving cart may provide more stability.
Technique: When using a dolly, tilt the safe slightly backward to secure it against the dolly and strap it in place. This prevents it from sliding off during transport. Always keep the dolly’s center of gravity low to avoid tipping.
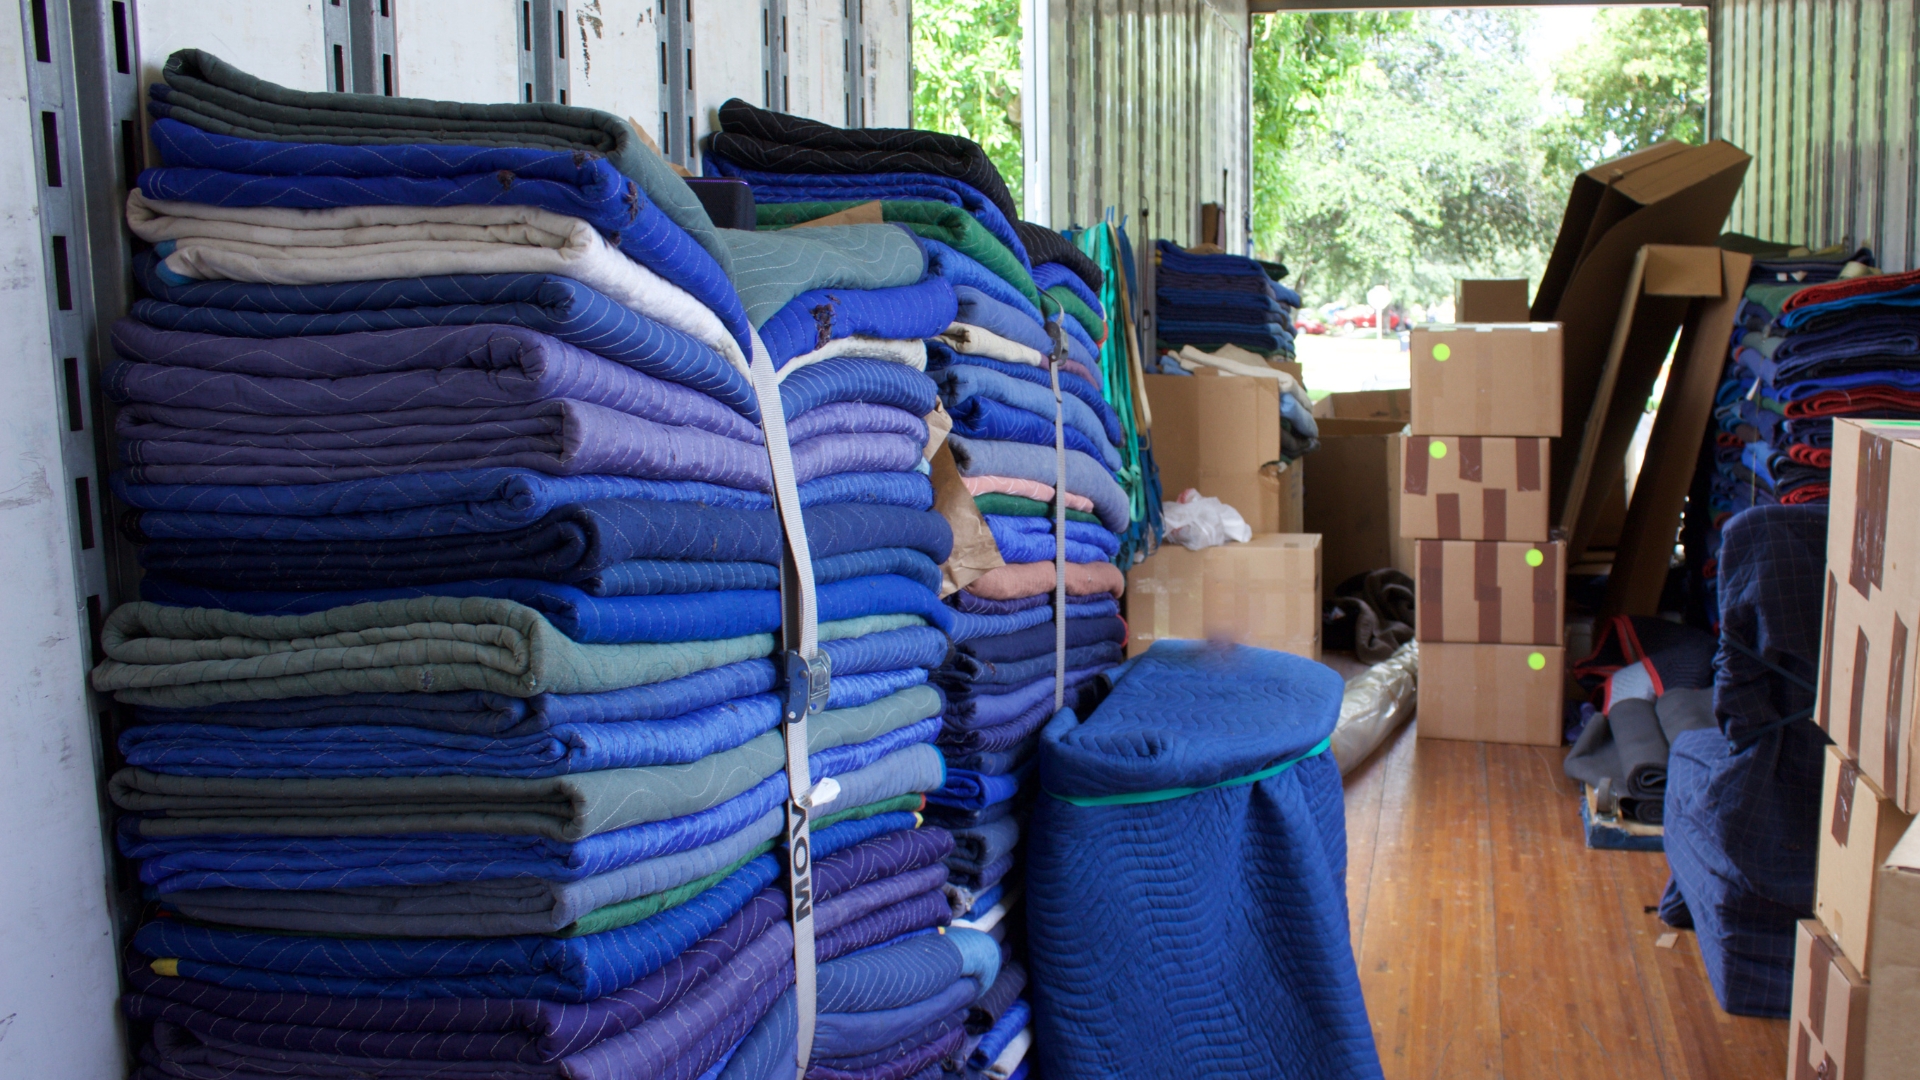
Protection: Furniture pads or moving blankets are essential for protecting both your gun safe and the surrounding surfaces from scratches, dents, and other damage. These pads provide cushioning that absorbs impact during the move.
Wrapping Technique: Wrap the safe in furniture pads before lifting it. Secure the pads with packing tape or moving straps to prevent them from slipping during transport. This added layer of protection is particularly important if you're moving through narrow hallways or tight spaces.
Surface Protection: Use additional blankets or pads to cover floors, doorways, and walls along the moving path. This precaution helps prevent damage to your home and maintains a clean environment.
Disassembly: Depending on the type of gun safe you have, it might be necessary to disassemble certain components (like shelves or internal mechanisms) to make the safe easier to move.
Essential Tools: Gather wrenches, screwdrivers, and any other tools you might need for disassembly. It's a good idea to have both metric and standard tools on hand, as safes can vary in their construction.
Preparation: Before moving day, familiarize yourself with the safe’s construction. Check for any screws, bolts, or attachments that may need removal. If you’re unsure, consult the manufacturer’s manual or website for guidance.
Gloves: Heavy-duty work gloves protect your hands from cuts and abrasions while providing a better grip on the safe.
Safety Gear: Depending on the weight and size of the safe, consider using safety glasses to protect your eyes from any debris or unexpected hazards during the move.
Communication Devices: If your moving team is large or spread out, walkie-talkies or mobile phones can help maintain communication, especially in noisy environments.
By gathering these essential supplies and being well-prepared, you'll streamline the process of moving your gun safe and minimize the risks associated with this heavy lifting task. Proper planning will make the entire experience much safer and more efficient.
Preparing your gun safe before the move is a critical step that ensures both the safety of your belongings and the effectiveness of the moving process. Here’s a detailed look at how to properly prepare your safe:
Remove All Contents: Start by taking out all firearms, ammunition, and valuable items stored inside the safe. This is essential for several reasons:
Weight Reduction: Emptying the safe significantly reduces its overall weight, making it easier and safer to lift and transport.
Damage Prevention: Valuable items, including firearms, can be damaged if the safe shifts or tips during the move. Removing them eliminates this risk.
Inventory Check: Use this opportunity to conduct an inventory of your firearms and other valuables. Ensure everything is accounted for and check for any maintenance needs, such as cleaning or repairs.
Storage & Removed Items: Find a secure and safe location to store the items temporarily while you move the safe. Consider using a locked container or another safe to protect your valuables during the transition.
Lock The Safe: After emptying the contents, ensure the safe door is securely locked. This is crucial to prevent the door from swinging open during transport, which could lead to damage to the safe or its surroundings.
Understand The Locking Mechanisms: Familiarize yourself with your safe’s locking mechanism:
Keyed Locks: If your safe uses a key, ensure you have the key on hand. Consider having a spare available just in case.
Combination Locks: For combination locks, ensure you know the combination. Write it down and keep it in a secure place, separate from the safe itself. If your safe allows for a reset of the combination, consider doing this beforehand to avoid any lockout issues.
Electronic Locks: If your safe features an electronic lock, ensure the batteries are fresh. Test the lock before moving to avoid any surprises during the transition.
Utilize Locking Features: If your safe has additional locking features—such as a bypass key or a secondary locking mechanism—make sure to engage them. This adds an extra layer of security during the move.
Inspect The Safe: Take a moment to inspect the safe for any signs of wear or damage. Check hinges, the locking mechanism, and the exterior for any potential issues that could worsen during the move.
Clean The Safe: If it’s been a while since you cleaned your safe, consider doing so now. Dust and debris can accumulate inside, and a clean safe will ensure that any contents you put back after the move are not affected by dirt or grime.
Document Condition: Before moving, take photos of your safe’s current condition. This documentation can be useful for insurance purposes in case of any damage during the move.
By thoroughly preparing your gun safe, you not only streamline the moving process but also safeguard your valuable items and reduce the risk of damage. Taking these precautions allows for a smoother, more efficient move, setting the stage for a successful transition to its new location.
Planning your route is an essential part of moving a gun safe. A well-thought-out plan minimizes risks and ensures a smooth transition. Here’s a comprehensive guide on how to effectively plan your route:
Identify The Route: Begin by mapping out the exact path from the safe’s current location to its new spot. This could involve navigating through various rooms, hallways, or even outside.
Remove Obstacles: Go through the path and remove any furniture, decorations, or obstacles that could impede movement. This includes:
Furniture: Move sofas, chairs, tables, or any other items that might block the path. If possible, relocate these items to another room temporarily.
Decorative Items: Remove fragile items like vases, picture frames, or any other decor that could be knocked over or damaged during the move.
Rugs and Mats: Secure or roll up any area rugs or mats. These can be tripping hazards and may slip underfoot when moving a heavy object.
Check For Slippery Surfaces: Assess the floors for any surfaces that might be slick, such as tile or polished wood. If the weather is rainy or snowy, take extra precautions to avoid slipping.
Lighting: Ensure that all areas along the path are well-lit. Consider using additional lighting if necessary, especially in dimly lit hallways or corners.
Measure Dimensions: Use a tape measure to check the width and height of all doorways, hallways, and any tight spaces along your planned route. This helps you determine whether the safe will fit through each entry point. Pay special attention to:
Standard Door Sizes: Most interior doors are around 30 to 36 inches wide, but it’s wise to measure each one to confirm.
Archways and Hallways: Measure the width of hallways and the height of any archways or door frames.
Assess Angles and Turns: Consider the angles at which you’ll need to maneuver the safe. Sometimes, even if a safe can technically fit through a doorway, the angles required to navigate through may complicate the move.
Adjust as Needed: If you find that any doorways or hallways are too narrow:
Remove Doors: If feasible, temporarily remove door hinges to widen the entry. This can create additional space for maneuvering.
Disassemble Furniture: If large pieces of furniture are blocking the path, disassemble them if possible. This could involve removing legs from tables or breaking down larger items into smaller pieces.
Assess Stairs: If your route includes stairs, carefully evaluate:
Width and Depth: Measure the stair width and depth to ensure the safe can be lifted and moved safely.
Type of Stairs: Straight stairs are typically easier to navigate than winding or spiral stairs. Plan how many people will be needed to lift and carry the safe up or down.
Consider Elevators: If your move involves going up or down in a building with an elevator, measure the dimensions of the elevator as well. Ensure it can accommodate the safe and any equipment.
Team Briefing: Before the move, gather your team and discuss the planned route. Make sure everyone knows their roles and how to handle the safe during the transition.
Designate a Leader: Choose a team member to lead the move. This person can guide the group along the route and communicate instructions, helping to coordinate movements effectively.
Practice Moves: If time allows, consider practicing the lift and carry with the safe in place to get a feel for its weight and how it maneuvers. This practice can build confidence and enhance teamwork.
By meticulously planning your route and preparing for potential obstacles, you can greatly enhance the safety and efficiency of moving your gun safe. A clear, well-thought-out path minimizes stress and maximizes teamwork, ensuring that your safe arrives at its new location without incident.
Moving a gun safe is not a solo job. Gather a team of reliable individuals. Ideally, you should have at least three or four people to help, depending on the size of the safe.
Using proper lifting techniques is essential when moving a gun safe to ensure the safety of both the movers and the safe itself. Here’s a detailed breakdown of the key guidelines to follow:
Bending Your Knees: When preparing to lift the safe, bend at your knees rather than your waist. This technique engages your strong leg muscles, which are better equipped to handle heavy loads. Keeping your knees bent allows you to lower your body closer to the safe, reducing the strain on your back.
Keeping Your Back Straight: Maintain a neutral spine position throughout the lift. Avoid twisting your torso or bending forward, as these actions can lead to back injuries. Instead, focus on using your legs to lift while keeping your back straight.
Positioning Your Feet: Stand with your feet shoulder-width apart to provide a stable base. This positioning allows for better balance and control as you lift. If possible, position one foot slightly ahead of the other for added stability.
Use a Team Approach: When lifting with a team, coordinate your movements. On the count of three, everyone should lift simultaneously to share the load evenly. This synchronization helps prevent awkward shifts in weight that can lead to injury.
Choosing the Right Straps: Use heavy-duty moving straps designed for lifting and carrying heavy objects. These straps help distribute the weight more evenly, reducing the strain on individual team members.
Securing the Straps: Before lifting, ensure that the straps are properly secured around the safe. Adjust the straps so they are snug but not overly tight. This provides better control and prevents the safe from slipping during the move.
Proper Technique with Straps: When using straps, lift with your legs as discussed earlier, while also pulling up on the straps. This combined effort provides a solid grip on the safe and makes it easier to lift.
Communicating About the Straps: Designate one person to be responsible for ensuring the straps are correctly positioned and tightened before the lift. This avoids confusion and ensures safety.
Establish Clear Roles: Before moving the safe, assign specific roles to each team member. For example, designate a leader to coordinate the lift, individuals to handle each side of the safe, and someone to manage any obstacles along the route.
Use Clear Commands: Develop a set of commands or signals for your team to communicate during the lift. Words like "Lift," "Stop," or "Shift" should be clearly understood by all team members. This prevents miscommunication and ensures everyone is on the same page.
Constant Communication: Maintain open lines of communication throughout the moving process. If anyone feels that the safe is shifting, becoming unstable, or if they encounter an obstacle, they should speak up immediately. This real-time feedback helps prevent accidents.
Check In Frequently: During the move, take a moment to check in with each other. Asking, “Are we good?” or “How’s everyone holding up?” can help maintain awareness and provide an opportunity to adjust if needed.
Wear Appropriate Gear: Encourage team members to wear sturdy shoes with good grip to prevent slips and falls. Gloves can provide a better grip and protect hands from rough edges.
Take Breaks if Needed: If the safe feels particularly heavy or if you encounter challenges along the way, don’t hesitate to take a break. A short pause can help everyone regroup and prevent fatigue-related injuries.
Plan for the Unexpected: Be prepared for sudden shifts in weight or changes in the path. If you encounter an unexpected obstacle, communicate immediately and adjust your strategy as needed.
By adhering to these proper lifting techniques and focusing on teamwork and communication, you can significantly reduce the risk of injury while ensuring a successful move for your gun safe. Remember, safety should always be the top priority, and taking the time to plan and execute each lift thoughtfully will pay off in the long run.
Successfully moving a gun safe through stairs and tight spaces requires careful planning and execution. These areas present unique challenges that can complicate the moving process. Here’s an in-depth look at how to navigate these situations effectively:
Team Coordination: When navigating stairs, it's essential to have a coordinated approach. Always assign one person at the top of the stairs and one at the bottom. This setup ensures that there’s support on both ends, allowing for better control and safety.:
Top Person: The person at the top should be ready to guide the safe as it is lifted. They can help tilt the safe if necessary and communicate any adjustments needed as it approaches the landing.
Bottom Person: The bottom person should bear the majority of the weight as the safe descends. They must stay low and maintain a firm grip to stabilize the safe while keeping it from sliding.
Measuring Beforehand: Before moving the safe, measure the width and height of all doorways, hallways, and corners along the route. This helps you anticipate where the safe might get stuck and allows you to plan accordingly.
Taking Your Time: Navigating tight spaces often requires a slower pace. Rushing can lead to errors or accidents. Be patient and take your time to assess the best way to maneuver the safe through narrow passages.
Use Furniture Pads: If you're moving through particularly tight areas where there’s a risk of scratching walls or doors, use furniture pads to protect surfaces. This not only prevents damage to your home but also reduces friction, making it easier to slide the safe through tight spots.
Assess the Environment: Pay attention to any changes in flooring or thresholds. If there are bumps or steps, make sure to account for these when lifting or maneuvering the safe.
Plan for Unforeseen Obstacles: Always be prepared for unexpected challenges, such as furniture or decorations that may obstruct your path. Having a flexible approach allows your team to adapt quickly if adjustments are needed.
Take Breaks When Needed: If you find yourself struggling in tight spaces or on stairs, don’t hesitate to take a break. Fatigue can lead to accidents, so it’s important to stay sharp and focused throughout the process.
By following these guidelines for navigating stairs and tight spaces, you can significantly reduce the risk of injury and damage during your move. Taking the time to plan, communicate, and work together ensures a safer, more efficient process for everyone involved.
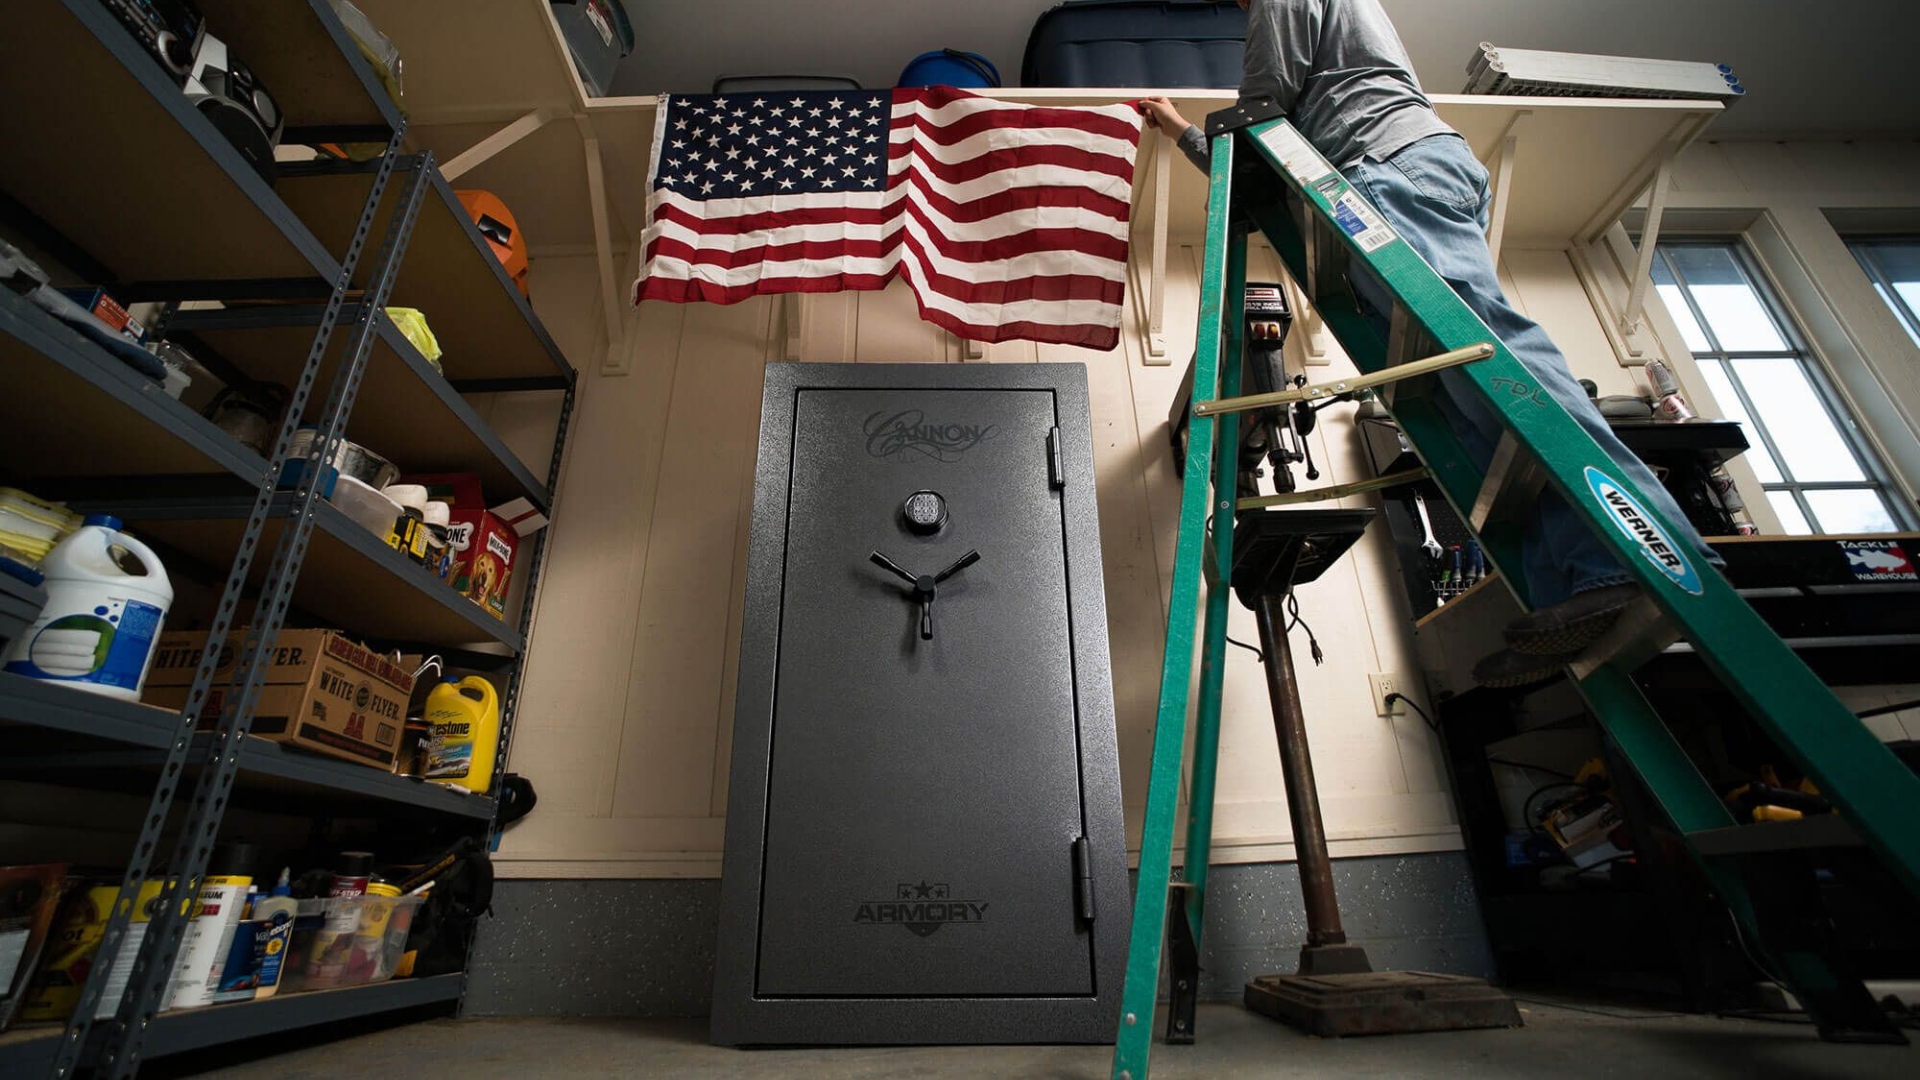
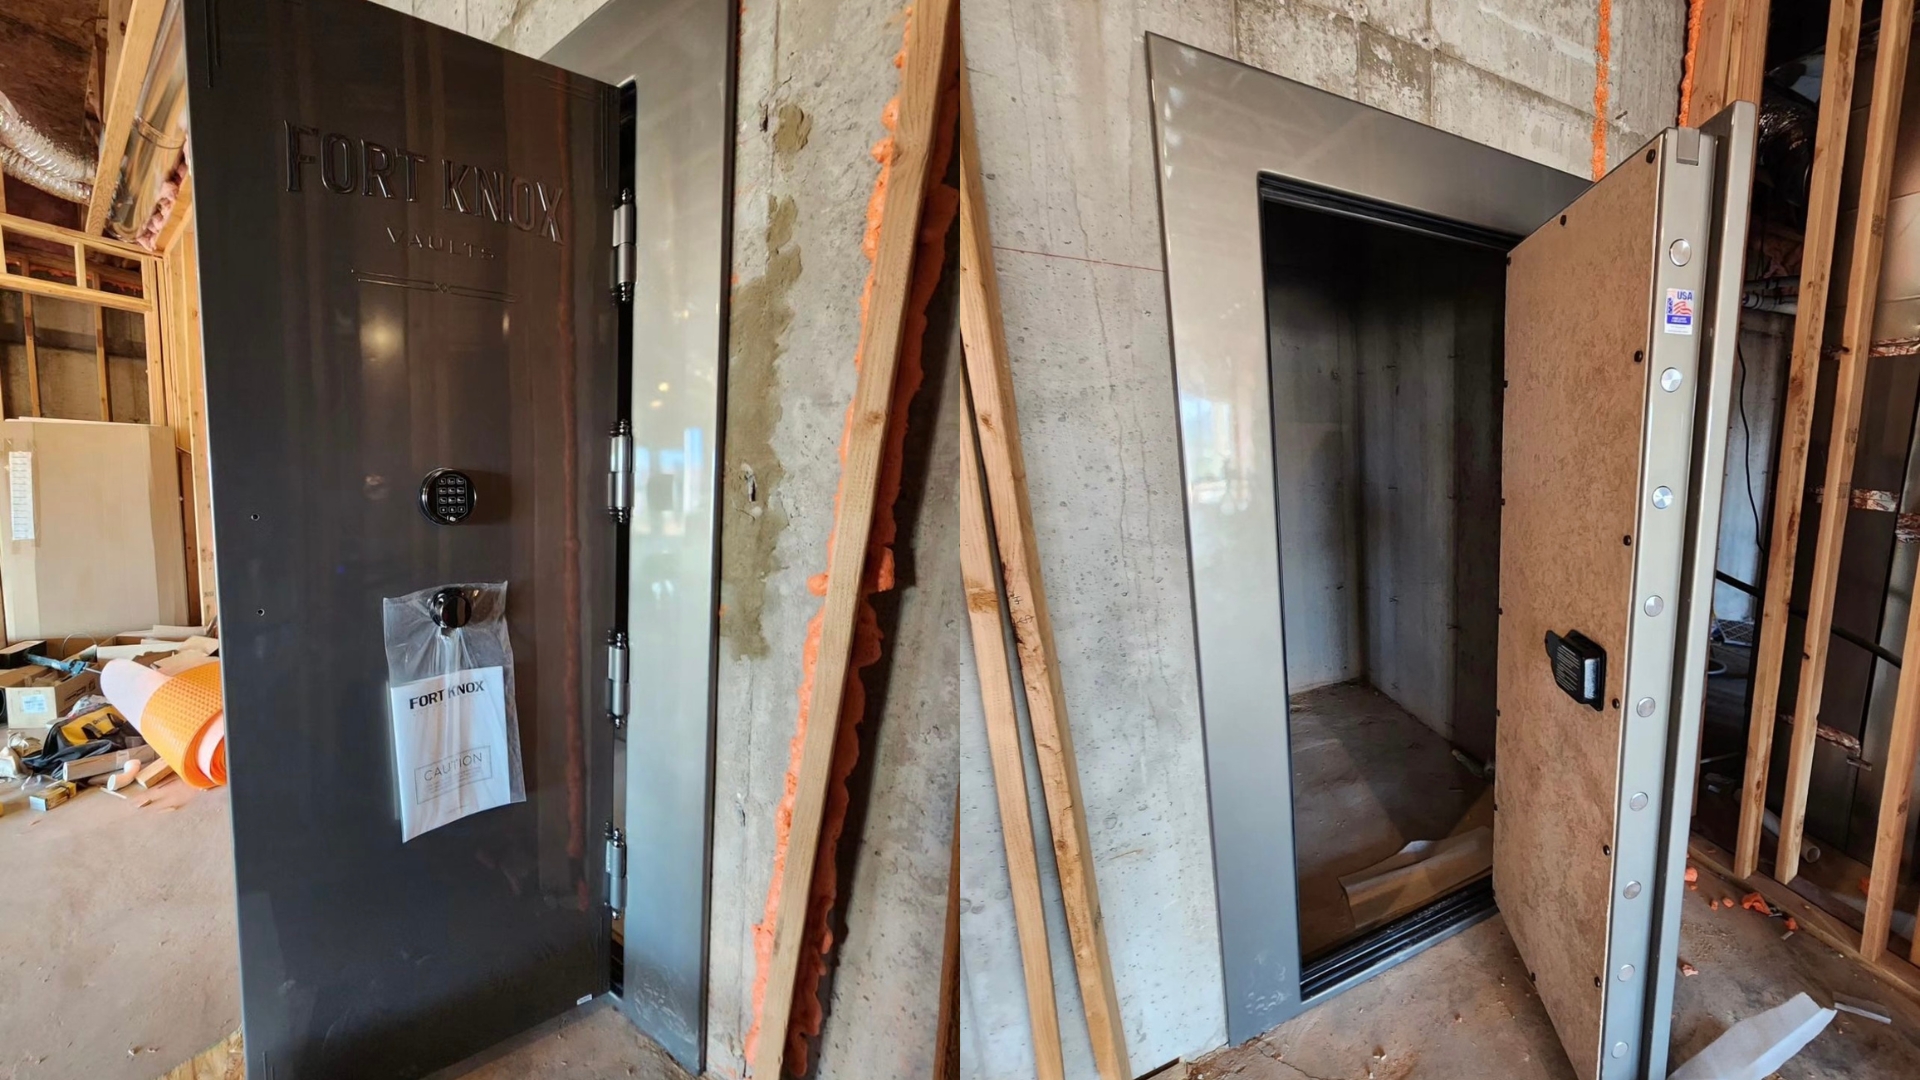
After successfully moving your gun safe, it’s crucial to ensure it is properly secured in its new location. This final step not only enhances safety but also ensures the safe functions effectively. Here’s how to do it:
Importance of Leveling: Ensuring that the safe is on a level surface is vital to prevent tipping or shifting. An unbalanced safe can not only cause potential damage to the safe itself but can also make it harder to access its contents and pose safety risks.
Bubble Level: Use a bubble level tool to check the surface of the safe. Place the level on top of the safe in different directions (both lengthwise and widthwise) to verify that it is even.
Adjusting Feet: Many safes come with adjustable feet or leveling pads. If your safe is not level, carefully adjust these feet until the safe is even. This may require loosening screws or knobs to raise or lower specific corners.
Recheck Stability: After adjusting, recheck with the level tool. Once satisfied, give the safe a gentle push to ensure it’s stable. It should not wobble or shift under pressure.
Review Disassembled Parts: If you had to disassemble any components of the safe (like shelves or internal brackets) to facilitate the move, gather all pieces and review the safe’s manual or assembly instructions to ensure correct reassembly.
Shelves and Racks: Replace any shelves or racks inside the safe. Make sure they are securely positioned and aligned according to the manufacturer’s specifications.
Locks and Mechanisms: If any locks or mechanisms were disassembled, carefully reinstall them, ensuring they function correctly.
Secure External Features: Check any external features like handles, electronic lock panels, or hinges. Ensure that all components are tight and securely attached to prevent any operational issues.
Test the Locking Mechanism: After reassembling, test the safe’s locking mechanism to ensure it works properly. If the safe has a combination or electronic lock, input the combination or use the key to verify it opens and closes smoothly.
Check for Accessibility: Make sure that the safe is easily accessible for you and others authorized to use it. Consider the layout of the room and how you will retrieve items from the safe in the future.
Inspect the Surrounding Area: Look around the new location to ensure there’s enough clearance and space for opening the door of the safe fully. This is particularly important for larger safes with heavy doors that require ample room to swing open.
Secure to the Floor or Wall: If applicable, consider securing the safe to the floor or wall. This added security measure can help prevent theft and ensure stability, especially if the safe is heavy or used frequently.
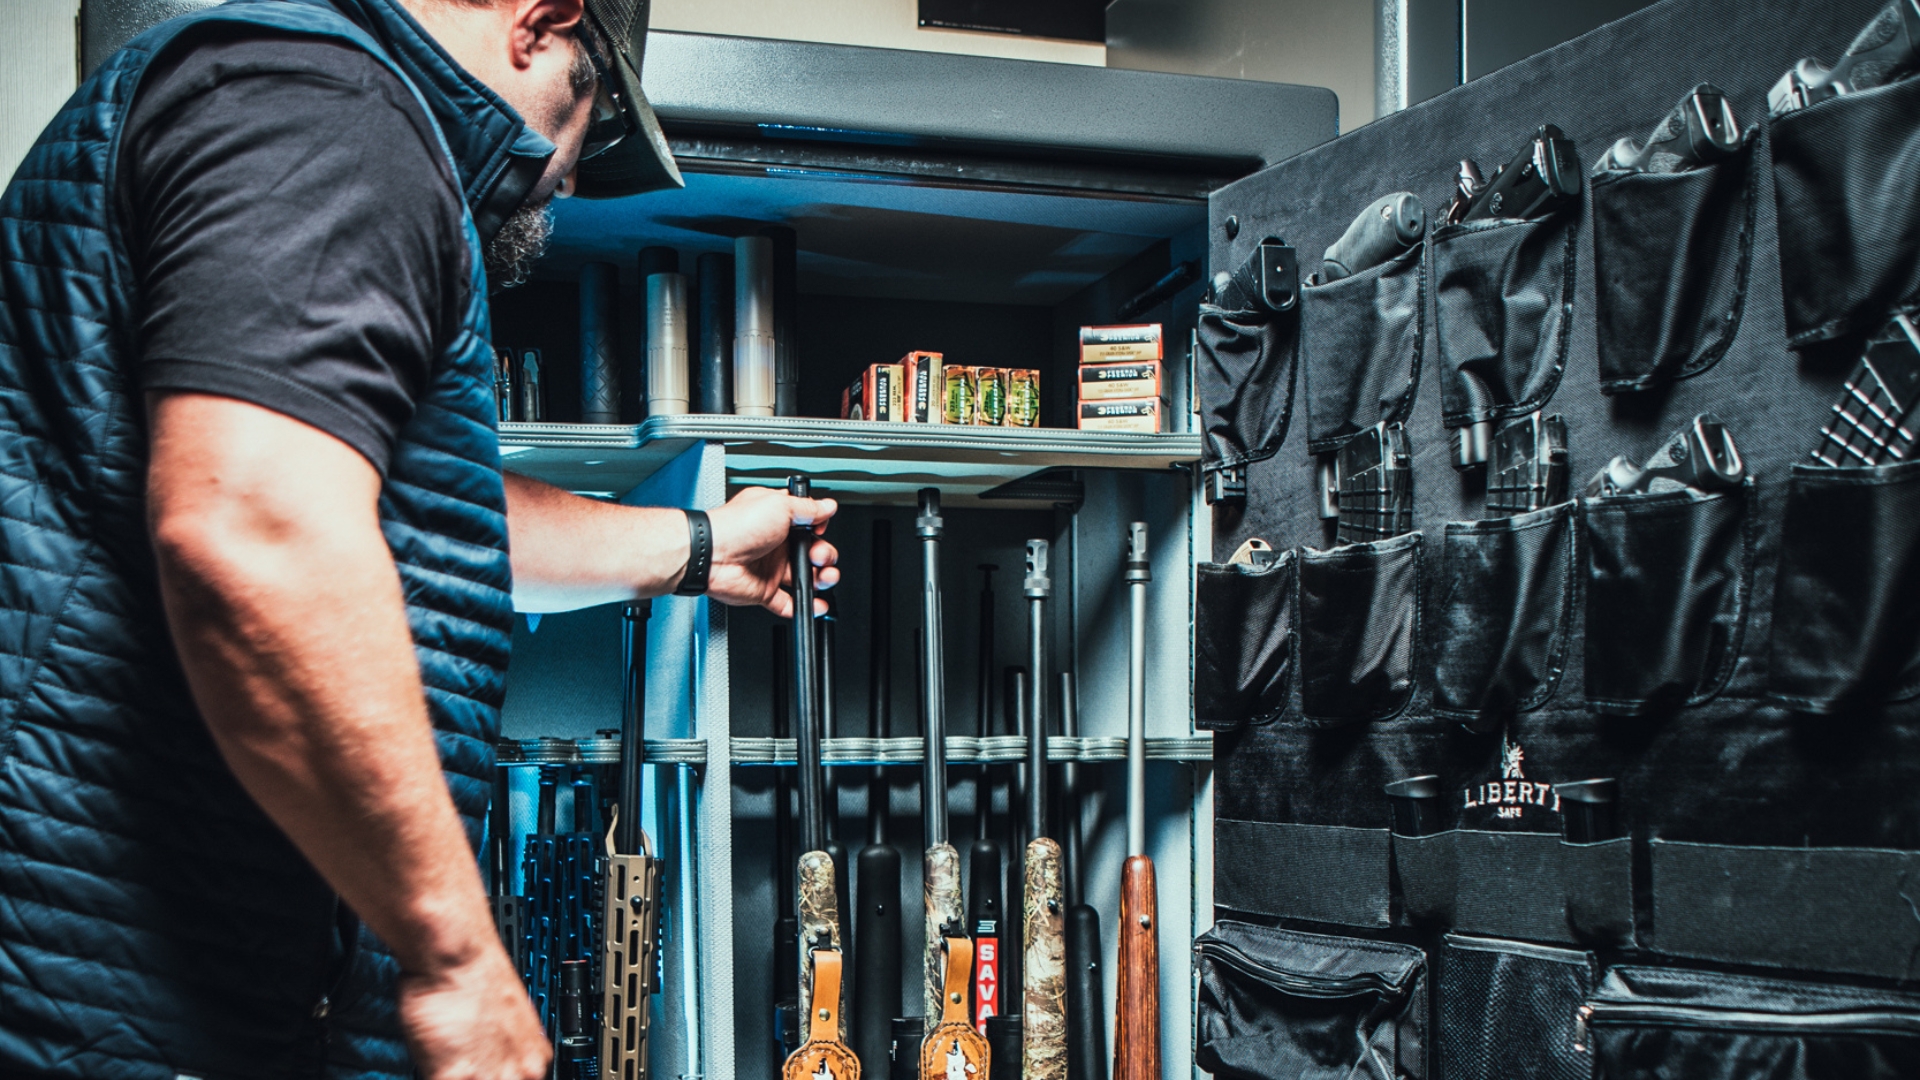
Inventory and Organization: Once everything is in place, take some time to organize the contents of the safe. This is a great opportunity to create an inventory list, ensuring that all items are accounted for and easily accessible.
Routine Maintenance: Finally, perform a routine maintenance check. Clean the exterior of the safe and check for any signs of wear or issues that may have developed during the move. Regular maintenance will help prolong the life of your safe and keep it functioning optimally.
By carefully securing the safe in its new location, you ensure that it is safe, functional, and accessible. Taking the time to level, reassemble, and perform final checks will contribute to a successful move and the long-term security of your valuables.
Once you’ve securely positioned your gun safe and completed the necessary reassembly, conducting a final check is essential to ensure everything is in order. This step guarantees that your safe functions properly and that your valuables are organized and secure. Here’s how to conduct an effective final check:
Test the Locking Mechanism: Begin by testing the lock thoroughly:
Manual Locks: If your safe has a keyed or combination lock, insert the key or dial the combination. Open and close the safe several times to ensure the lock engages and disengages smoothly. Pay attention to any unusual resistance or sounds.
Electronic Locks: For safes with electronic locks, enter the access code and ensure the keypad is responsive. Open and close the safe to confirm that the locking mechanism operates correctly. Check that the keypad lights up and responds to your input.
Inspect the Hinges: Check the hinges of the safe door for any signs of wear or misalignment. Ensure they move freely and don’t show signs of rust or damage. Lubricate them if necessary, following the manufacturer’s recommendations.
Ensure Proper Closing: When you close the safe, listen for a solid "click" sound indicating that the door is securely latched. Open it again to verify that it’s locked properly. If there’s any difficulty in closing, check for obstructions or alignment issues.
Check the Seals: If your safe has a fire or water seal, inspect it to ensure it’s intact. These seals are crucial for protecting contents from environmental damage, and any wear or damage should be addressed promptly.
Careful Placement: Once you’re confident that the safe is fully functional, begin placing your firearms and valuables back inside:
Prioritize Accessibility: Place items you access frequently at eye level or near the front. For example, if you have a firearm you use regularly, keep it easily reachable.
Utilize Shelves Wisely: Use the available shelves and compartments to create an organized structure. Group similar items together—keep firearms in one section, ammunition in another, and important documents in a separate area.
Inventory Management: As you place items back in the safe, consider creating an inventory list. This list should include:
Descriptions: Note details about each firearm, such as make, model, and serial number.
Value Assessment: Consider appraising high-value items to ensure they are adequately covered by insurance.
Utilize Storage Solutions: If your safe allows, use dividers or organizers to keep items neat and prevent them from shifting during access. This helps maintain organization and protects your valuables from potential damage.
Double-Check Security: After reorganizing, take a moment to double-check that everything is secured properly within the safe. Ensure that firearms are stored according to best practices for safety, including using trigger locks or securing them in holsters if applicable.
Secure the Safe: Close the safe and test the locking mechanism one last time. Ensure it locks securely and can only be opened with the correct key or combination.
Check Environmental Factors: Consider the location of the safe. Ensure it’s in a dry, cool area away from direct sunlight or moisture, which could damage your valuables over time. If necessary, add a desiccant pack to absorb humidity.
Regular Maintenance Schedule: Establish a routine for checking the safe’s functionality and contents. Regular checks help you stay aware of any potential issues and ensure your valuables remain secure.
By conducting a thorough final check, you ensure that your gun safe is fully functional, well-organized, and ready for secure storage of your firearms and valuables. This step is crucial for maintaining the integrity of your safe and the protection of your assets, providing peace of mind knowing everything is in its place.
Moving a gun safe doesn’t have to be a stressful experience. With careful planning, the right tools, and a reliable team, you can safely transport your safe to its new home. Remember, if you ever feel overwhelmed or unsure, it’s always wise to consult professionals in the gun safe moving industry. Your safety and the safety of your belongings should always come first. Happy moving!
